

Sprouting Guide
Sprouting Guide
Learn How to Sprout

Step One: Measure & Soak
1. After washing the kit and your hands, add up to 2 tablespoons of small seeds to the jar and fill halfway with water. Or, up to 1 cup of large seeds and fill the jar completely with water.
2. Securely attach the lid, aligning it with the start day or recommended harvest day.
3. Put the jar on the base with the rinse lid up and soak following the seed package instructions.
4. After draining, flip the jar onto the base with the rinse lid down to let excess water drain.
Step Two: Rinse Twice Daily
1. Twice a day (recommended morning and evening), cover the sprouts with room temperature water and gently swirl.
2. Drain the rinse water and shake the jar to remove any excess water.
3. Rotate the jar horizontally to spread out the sprouts for good aeration.
4. Place the jar on the base with the rinse lid facing down to let excess water drain.
Step Three: Harvest & Store
1. On harvest day, give the sprouts a final rinse.
2. If you wish, you can separate the hulls using a bowl or salad spinner.
3. Let sprouts dry for a few hours.
4. Use the Forages Sprout Jar Kit or any vented container lined with a paper towel to store them in a refrigerator for up to a week.
Step Four: Care & Repeat
1. All parts of the kit are dishwasher-safe: simply remove the rinse lid and silicone gasket, clean off debris and place the parts on top shelf.
2. For a thorough clean, you can also use heat-based methods to sterilize all Forages Sprout Jar Kit parts.
Sprout something new
There’s something satisfying and almost magical about watching your next meal grow in front of your eyes.
Maybe it’s the anticipation of enjoying a fresh and nutritious meal, packed with protein, vitamins, minerals and other important dietary compounds that keep you feeling your best.
It could be the satisfaction of being self-reliant, taking more control of your health, your diet and your lifestyle.
Perhaps it’s the speed and ease with which sprouts grow, with no soil, no fertilizers and no green thumb necessary to be successful.
No matter what drives you, we want to thank you for making us a part of your journey from seed to sprout.
What is sprouting?
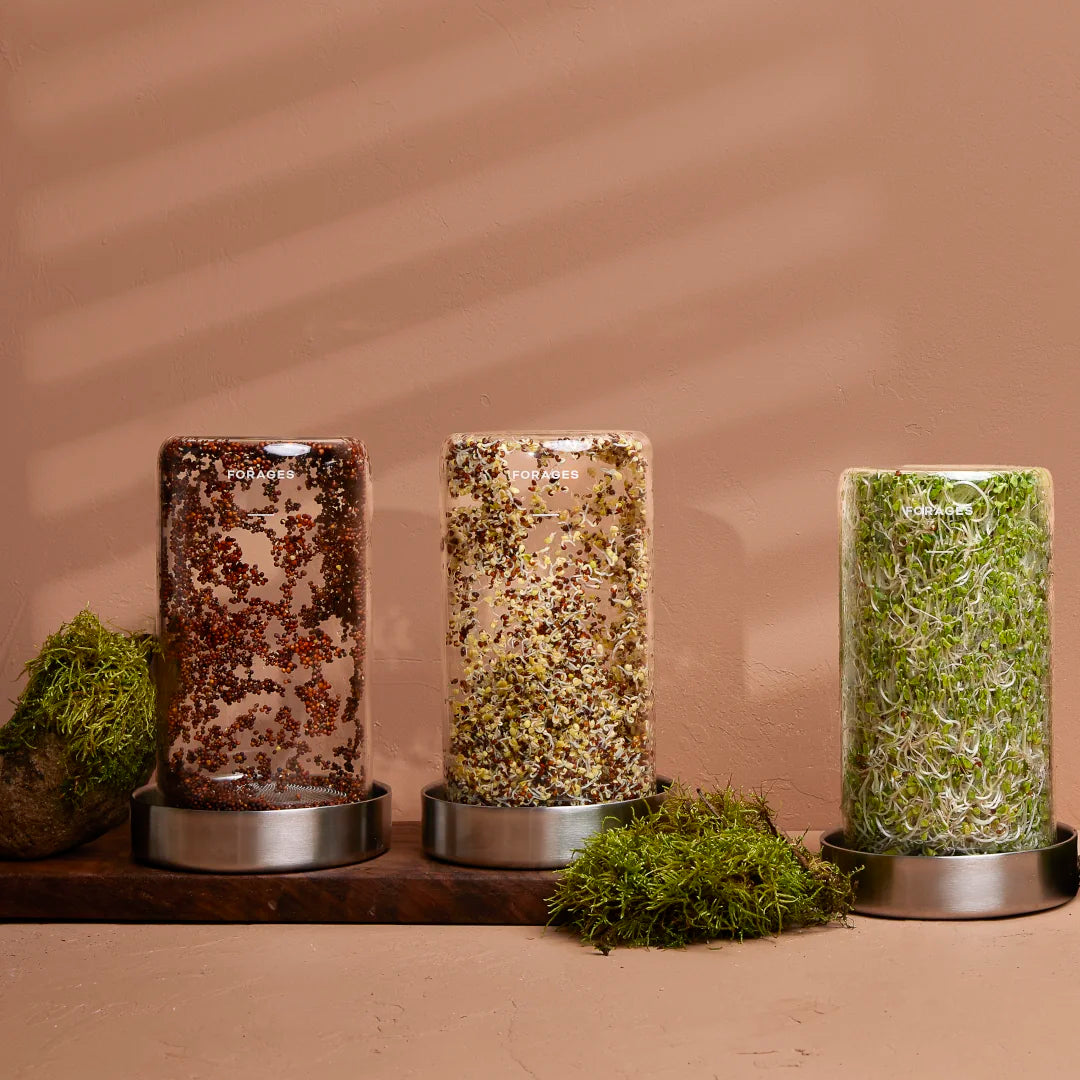
Sprouts are the first stage of plant growth. As they come out of dormancy and germinate, they break free from their outer shell, grow a tail and start to develop their first pair of leaves – all from one tiny seed and a bit of water.
Seeds –> Sprouts –> Microgreen –> Plant
In a garden, much of this process happens underground, but soil isn’t actually necessary for growing sprouts indoors. In fact, it can be done with nothing more than a little water, space, time and care.
That’s what sprouting is all about: giving seeds everything they need to achieve that first stage of growth.
Our Favorite Varieties
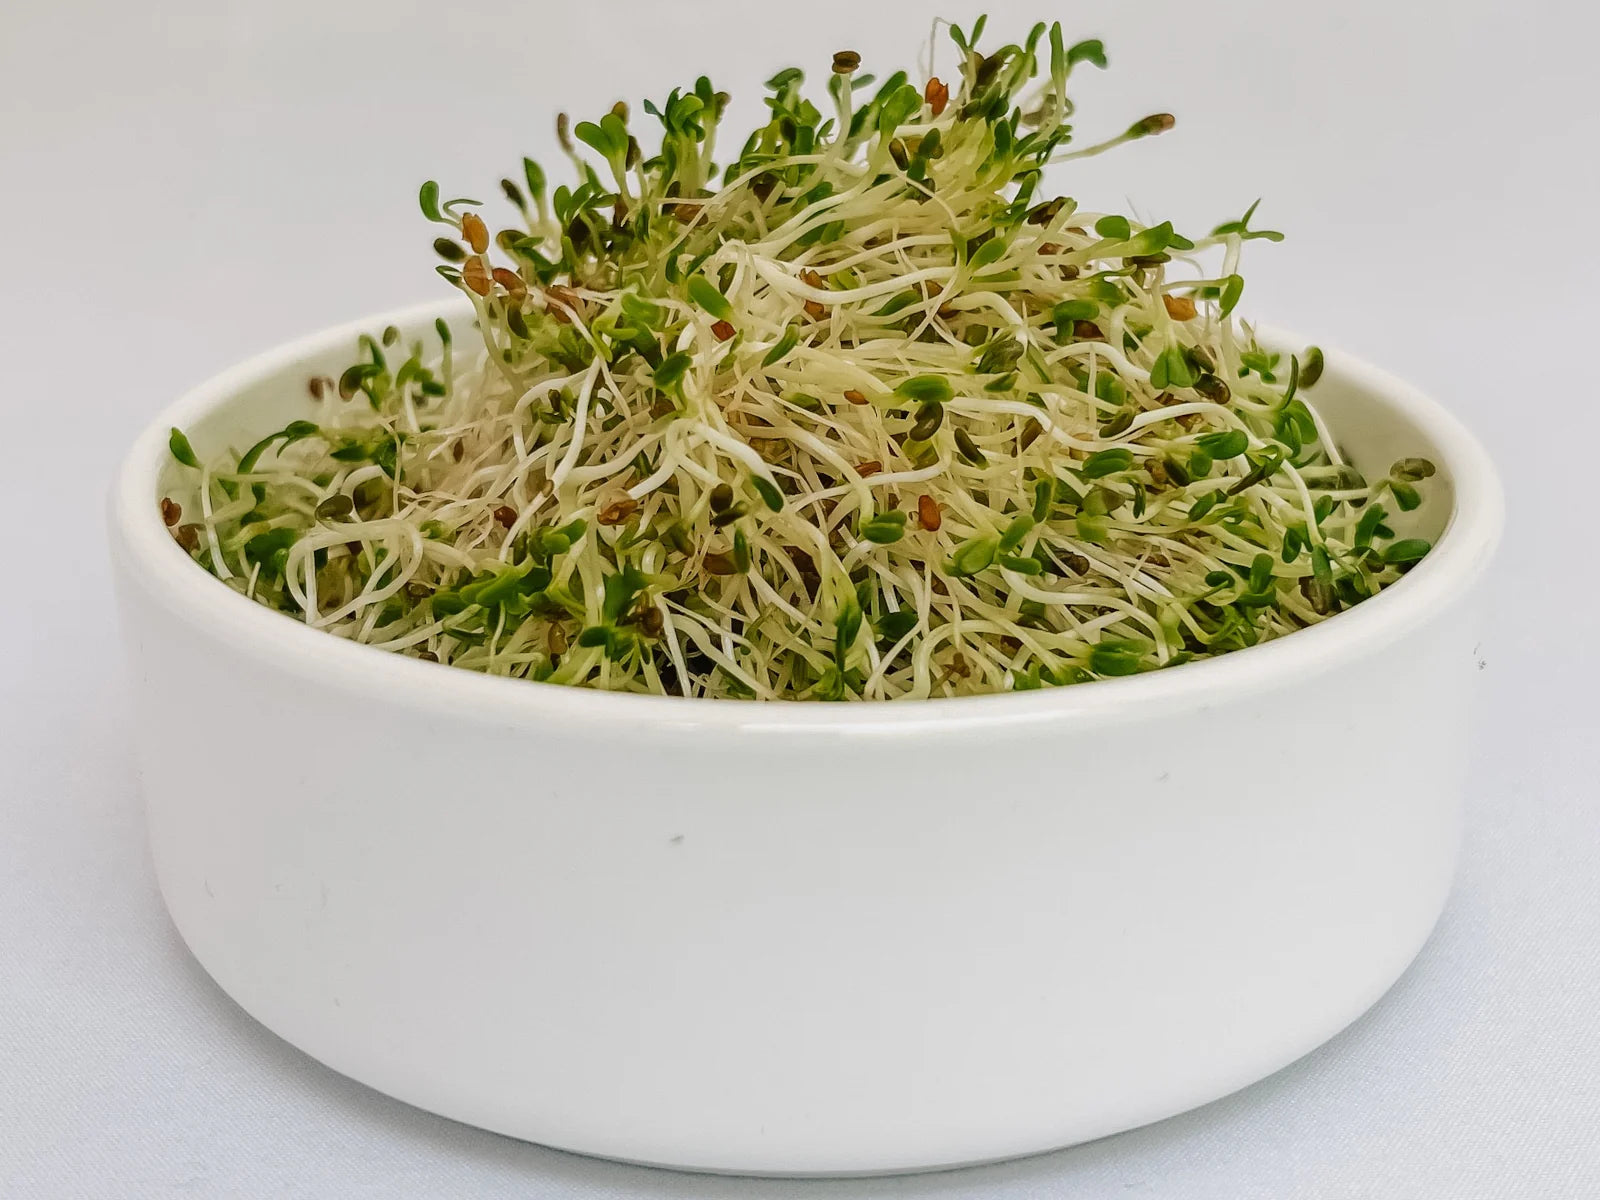
Alfalfa
The "Rich and Famous" - This renowned sprout needs no introduction. Beginners and experts swear by it, and you can find it in the produce aisle of most grocery stores. Rich by its nutrients, it wins the award of the most versatile and easy to grow.
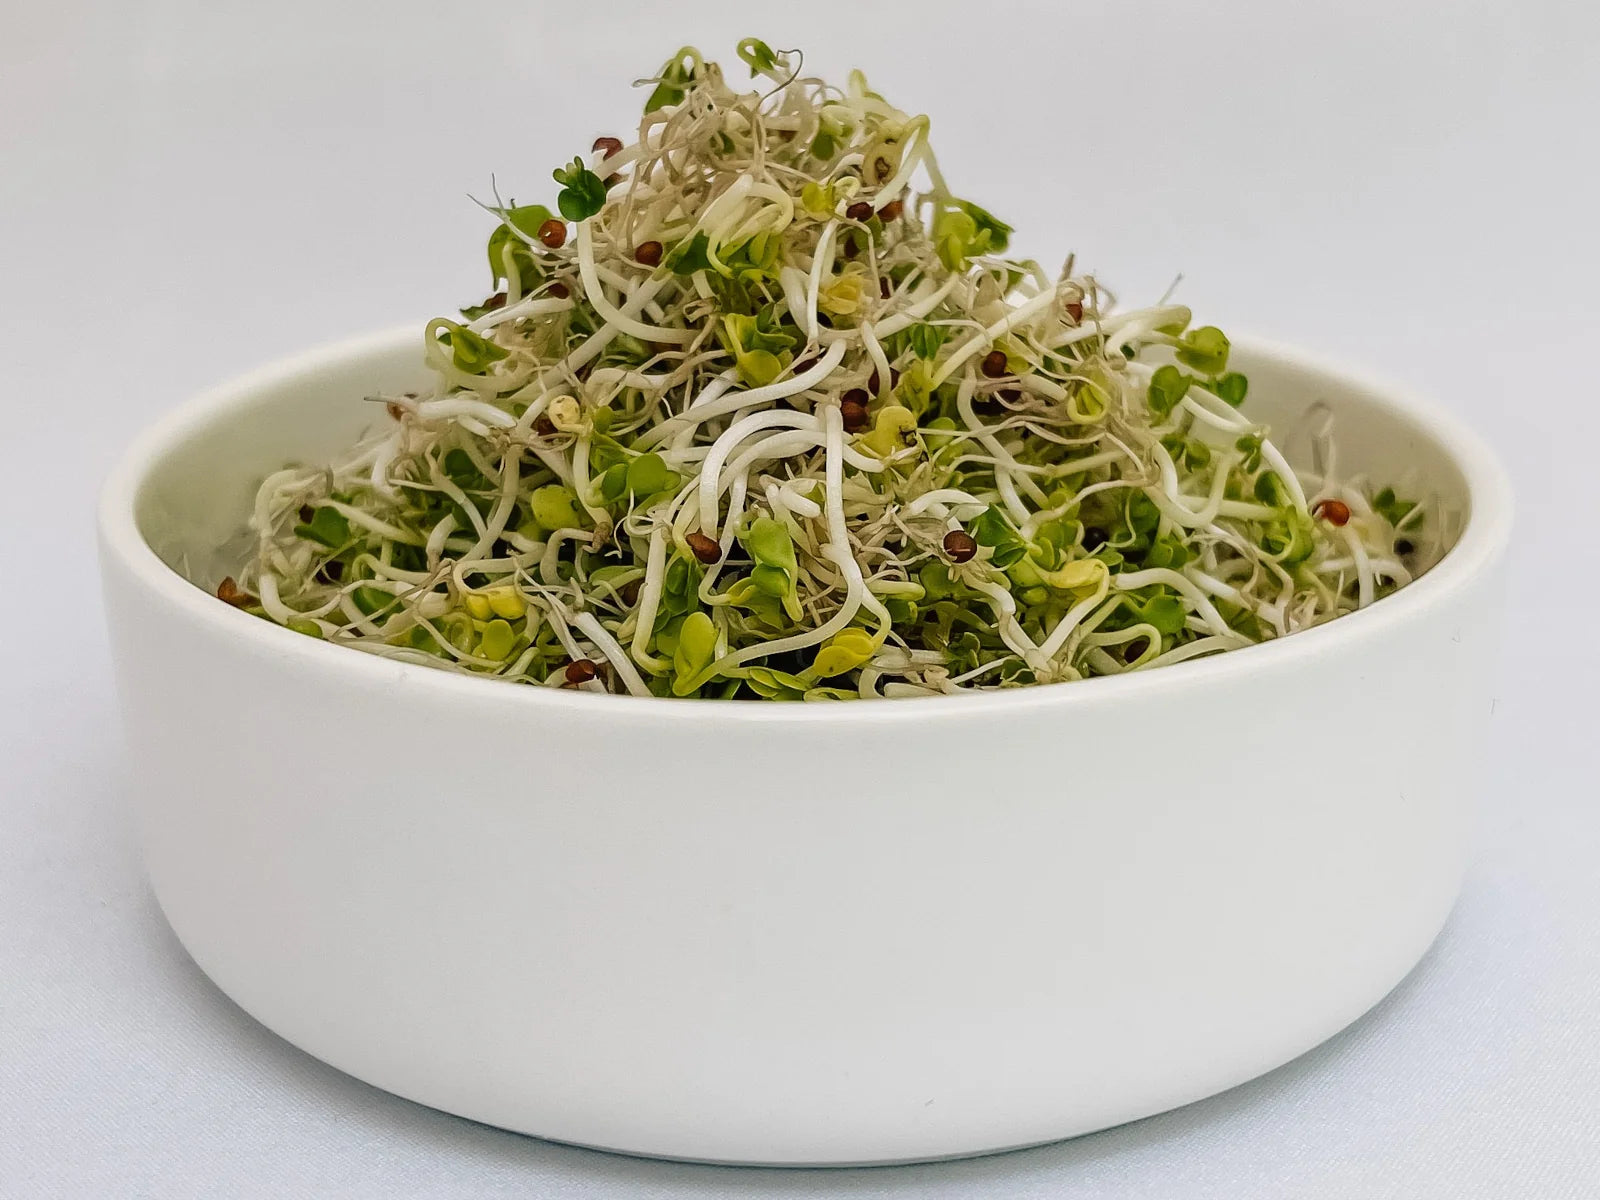
Broccoli
The "Transformer" - Introducing the definition of health food: the Broccoli Sprout! Not only does this sprout undergo the most amazing transformation during its growth, but it also comes with secret weapon - the biggest one: sulforaphane.
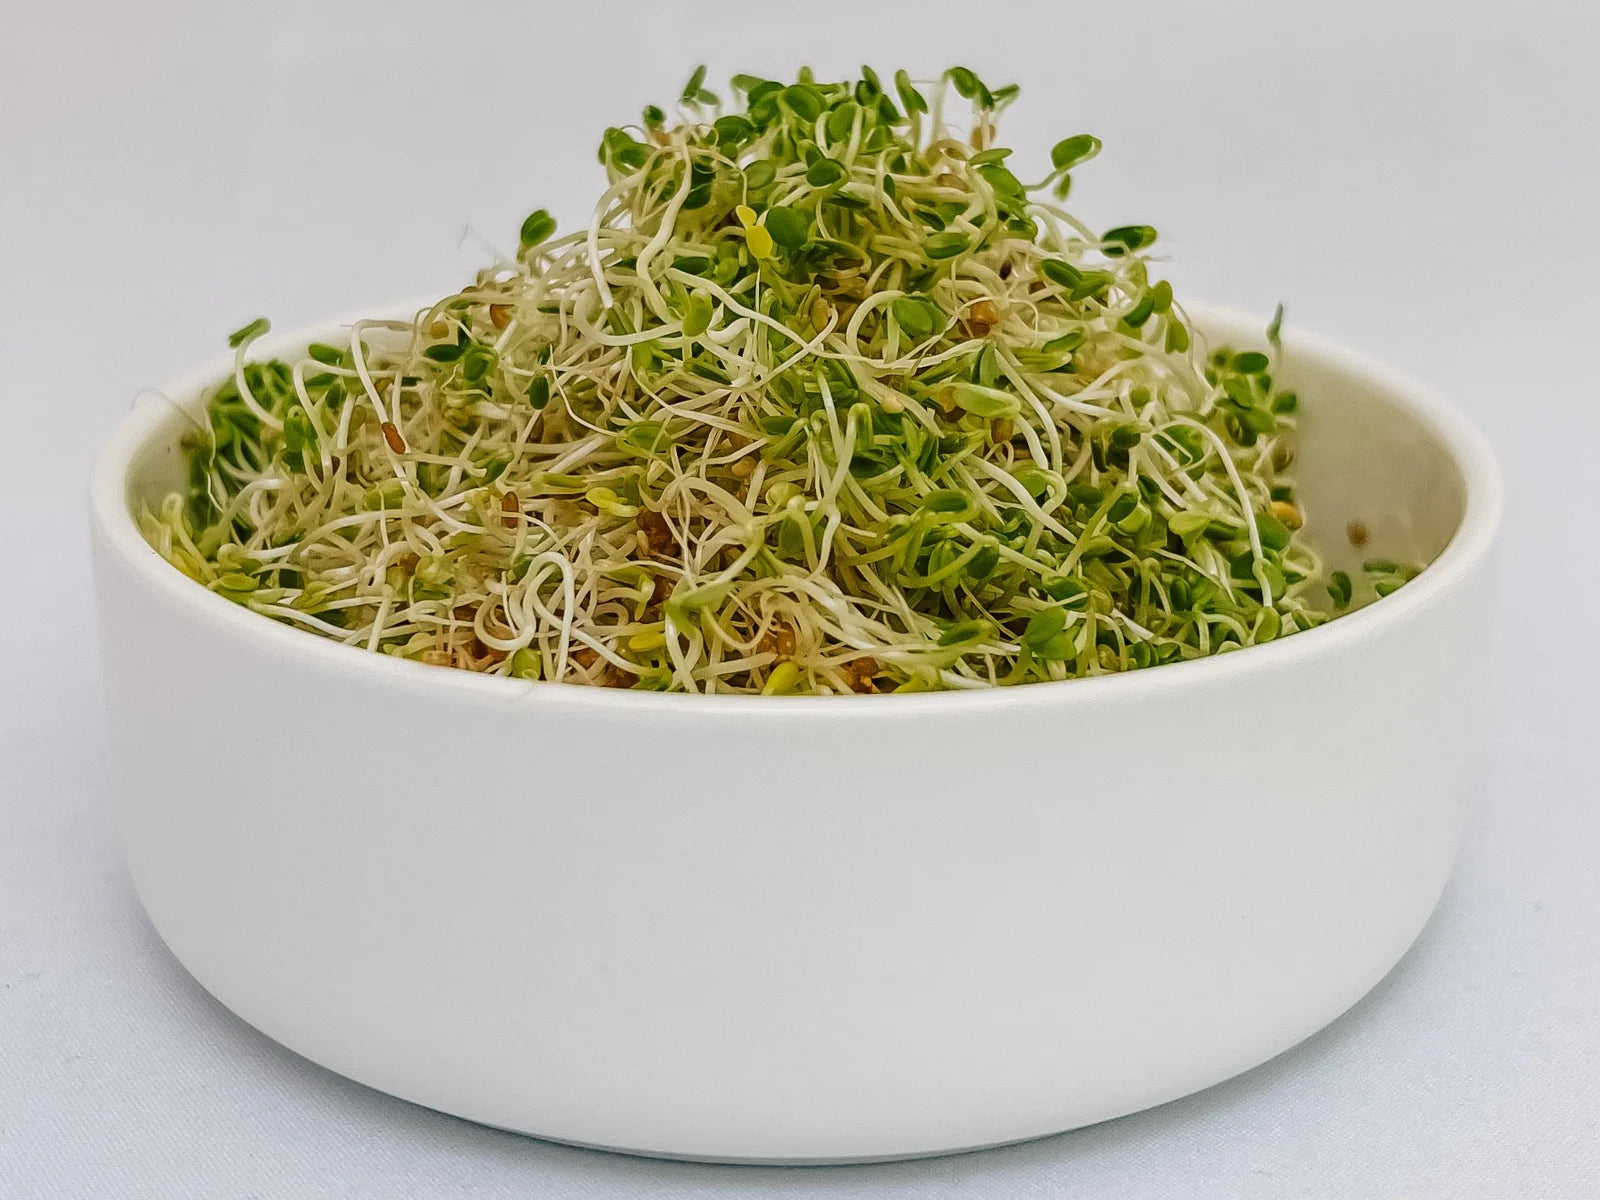
Clover
The "Clever" Clover - The clover sprout is similar to alfalfa, with a touch of sweetness. It seamlessly blends into various dishes. Hidden in smoothies or dips, its presence may go unnoticed, but your body will reap the benefits!
Fenugreek
The "Healthy Mapley" - With their unique blend of nutty flavors and a hint of maple, Fenugreek sprouts are easy to love. Valued for their positive impact on women's health, they also help with digestion, cholesterol and blood sugar levels, and promote radiant skin and hair.
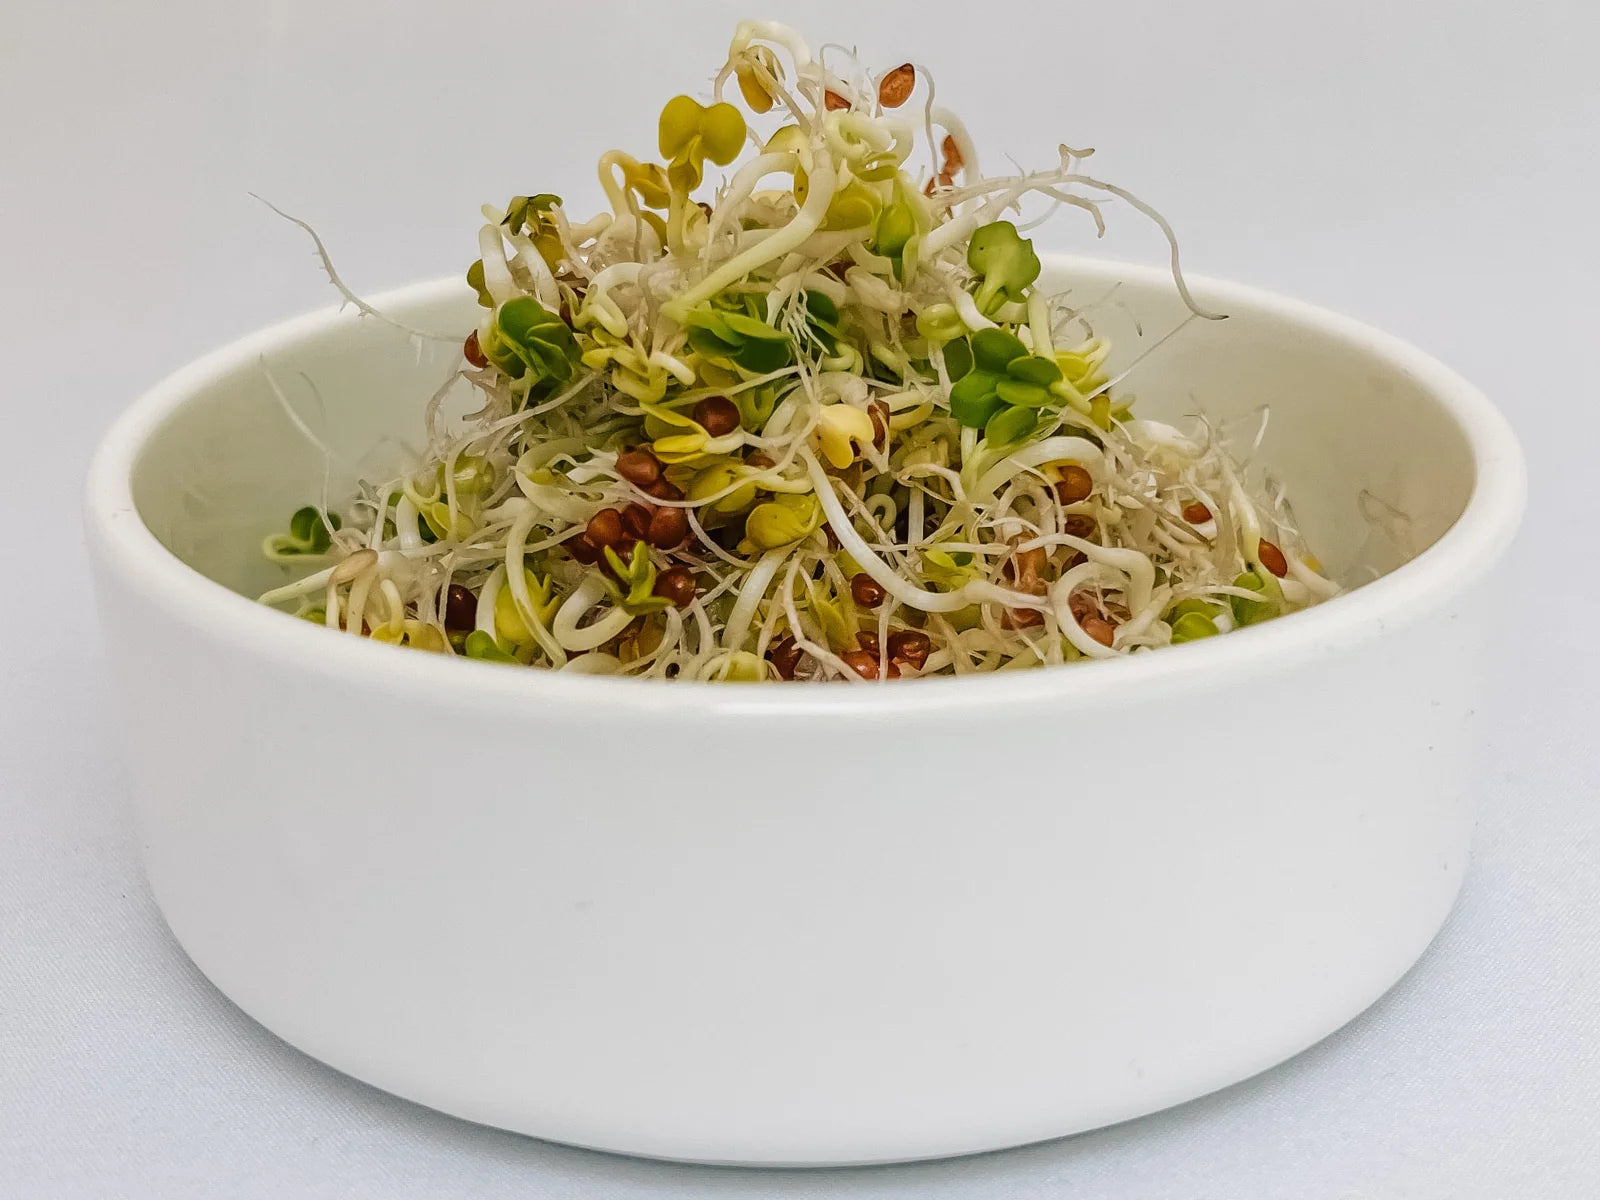
Radish
The "Pop Star" - Red Triton Ruby Daikon. They sound like a band, the Radish sprout varieties. Pop of color in an ocean of green, this spicy sprout is the star of the sprouting show!
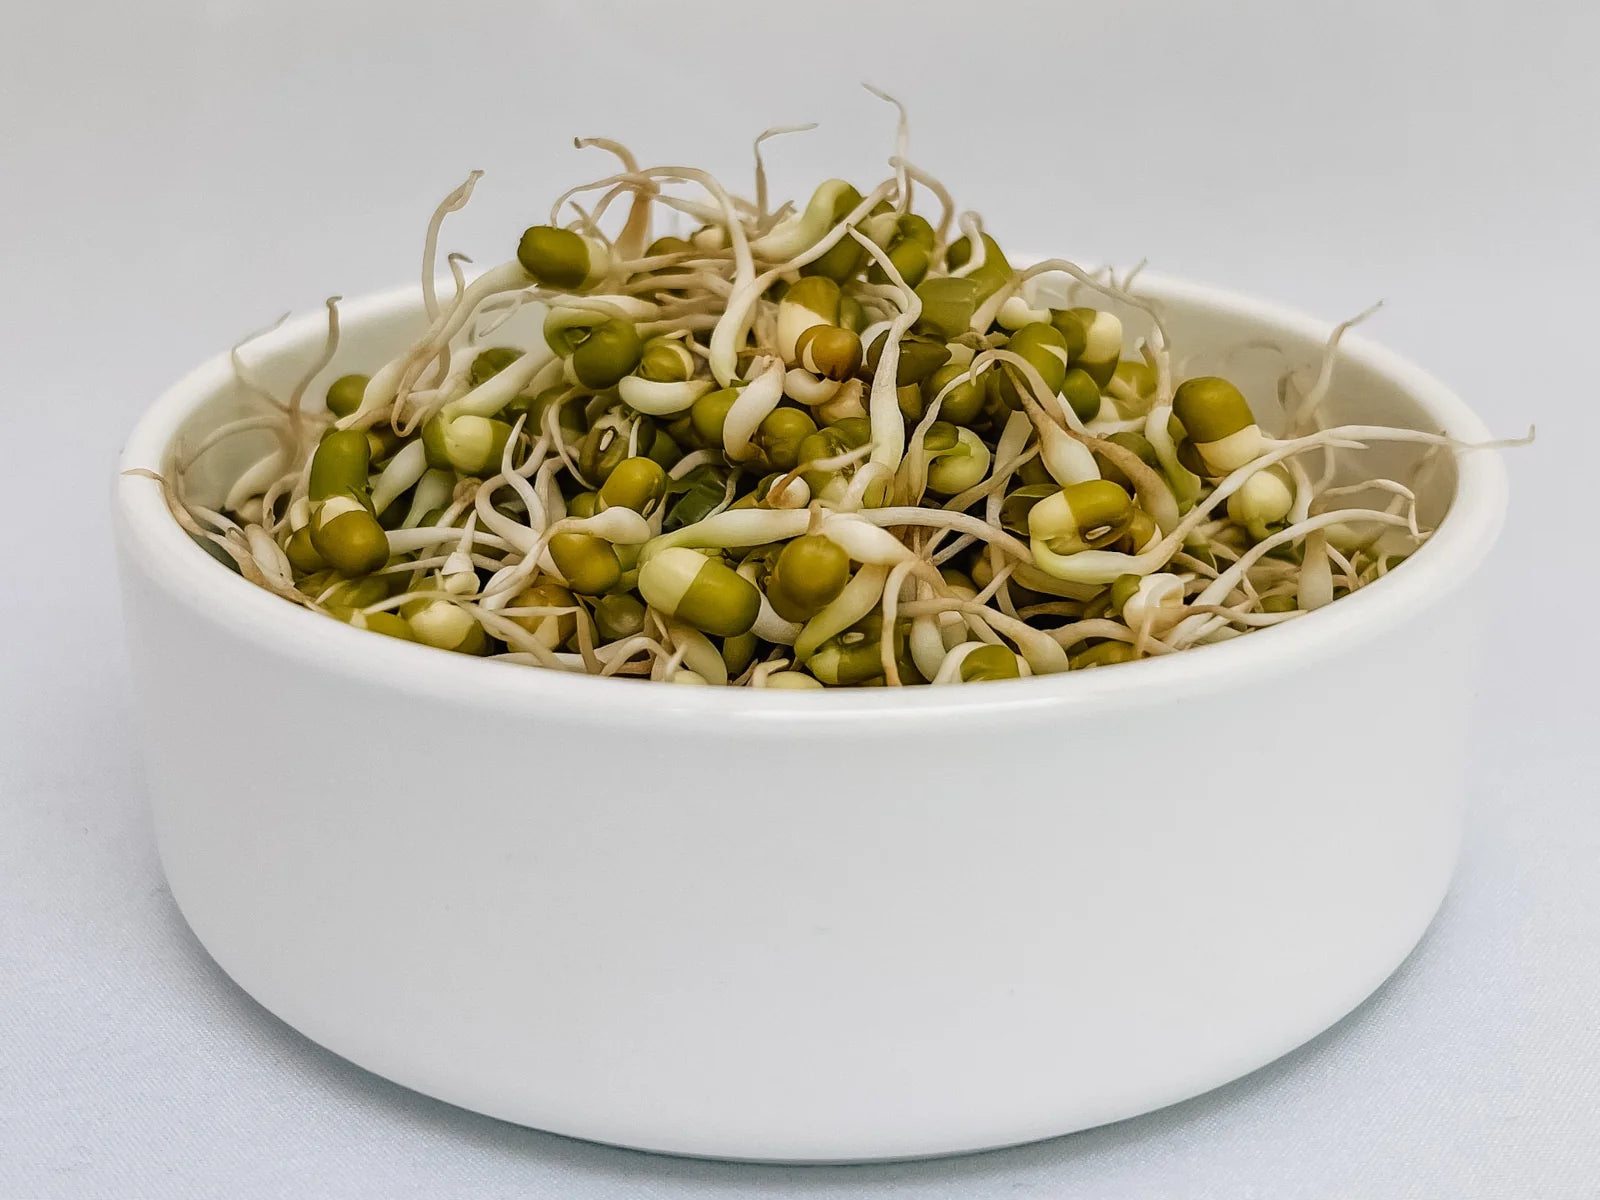
Mung Bean
The "Asian Gem" - The Mung Bean Sprout, and its many other names: chop suey, green gram, lutou, look dou, moyashimame... Mung beans are widely used in many Asian cuisines in soups, curries, stir-fries, pancakes and desserts.
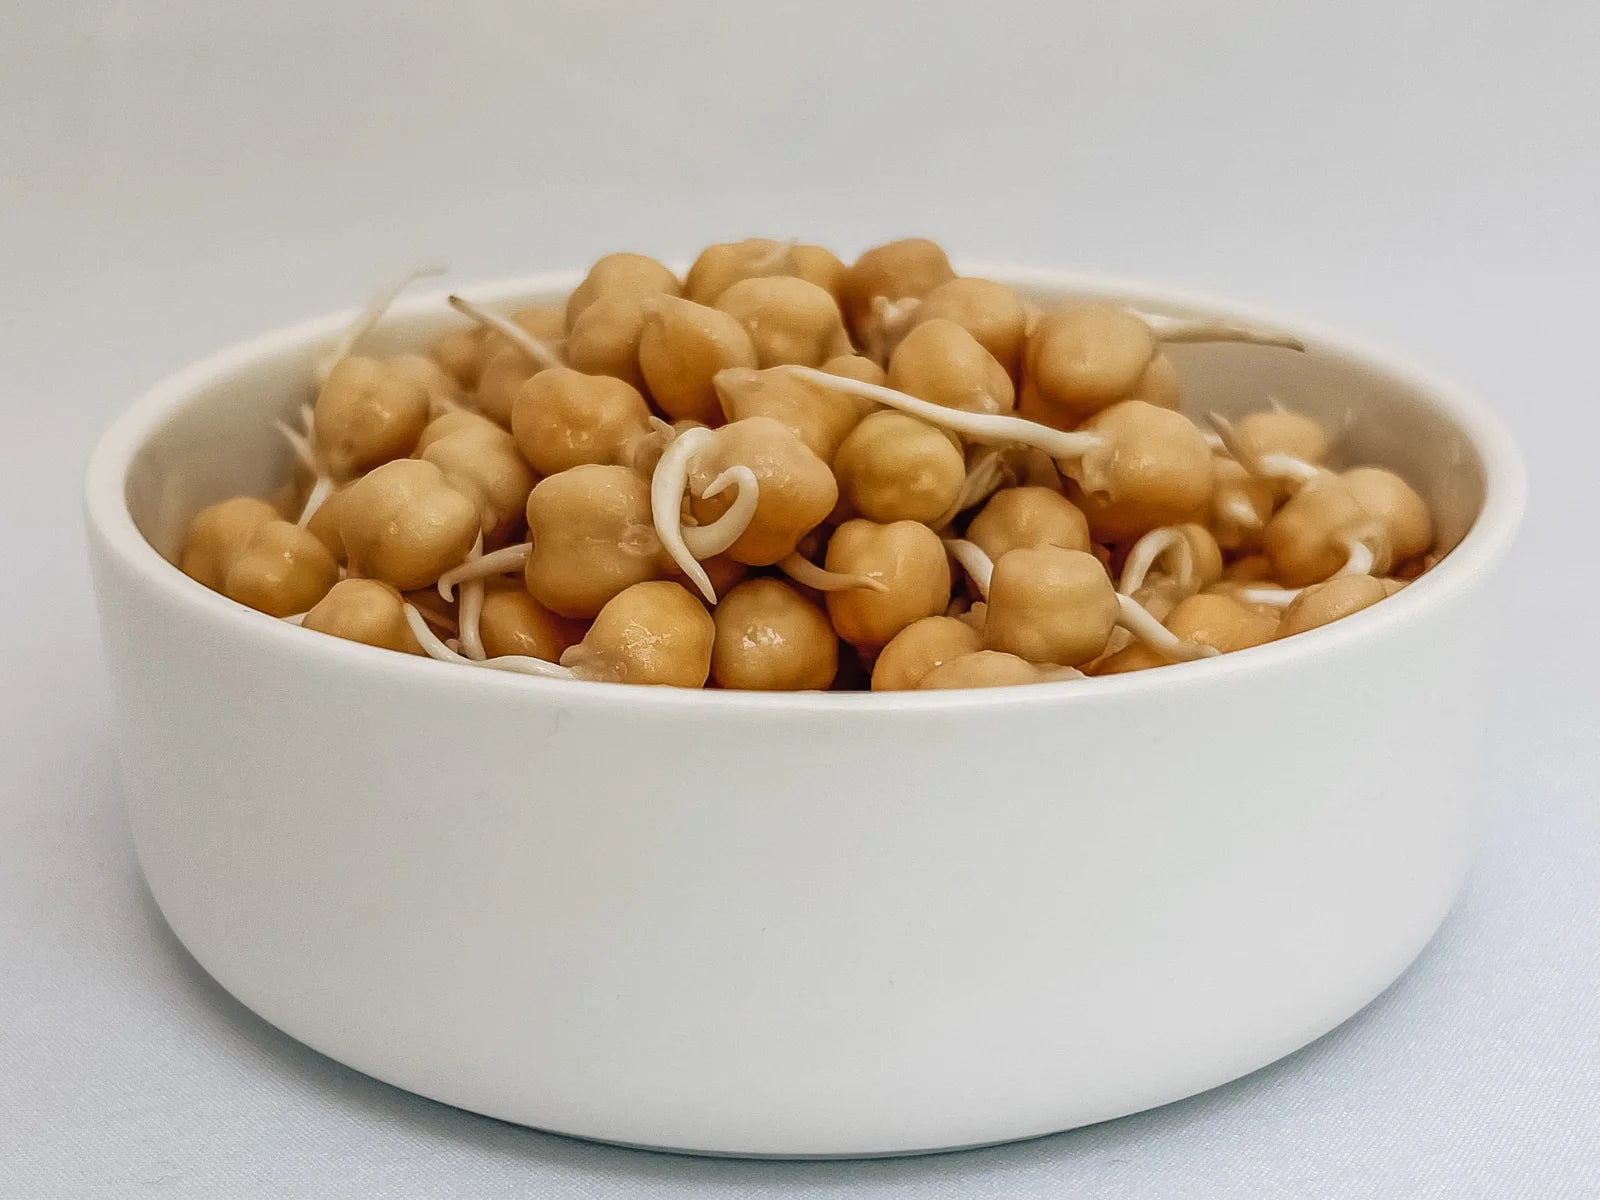
Garbanzo (Chickpea)
Garbanzo bean sprouts, also known as chickpea sprouts, are incredibly nutritious and high in protein! They're packed with vitamin C and B-complex, as well as calcium, and potassium and are also a great source of dietary fiber, protein, and healthy carbohydrates, which can aid in digestion, weight management and energy needs.
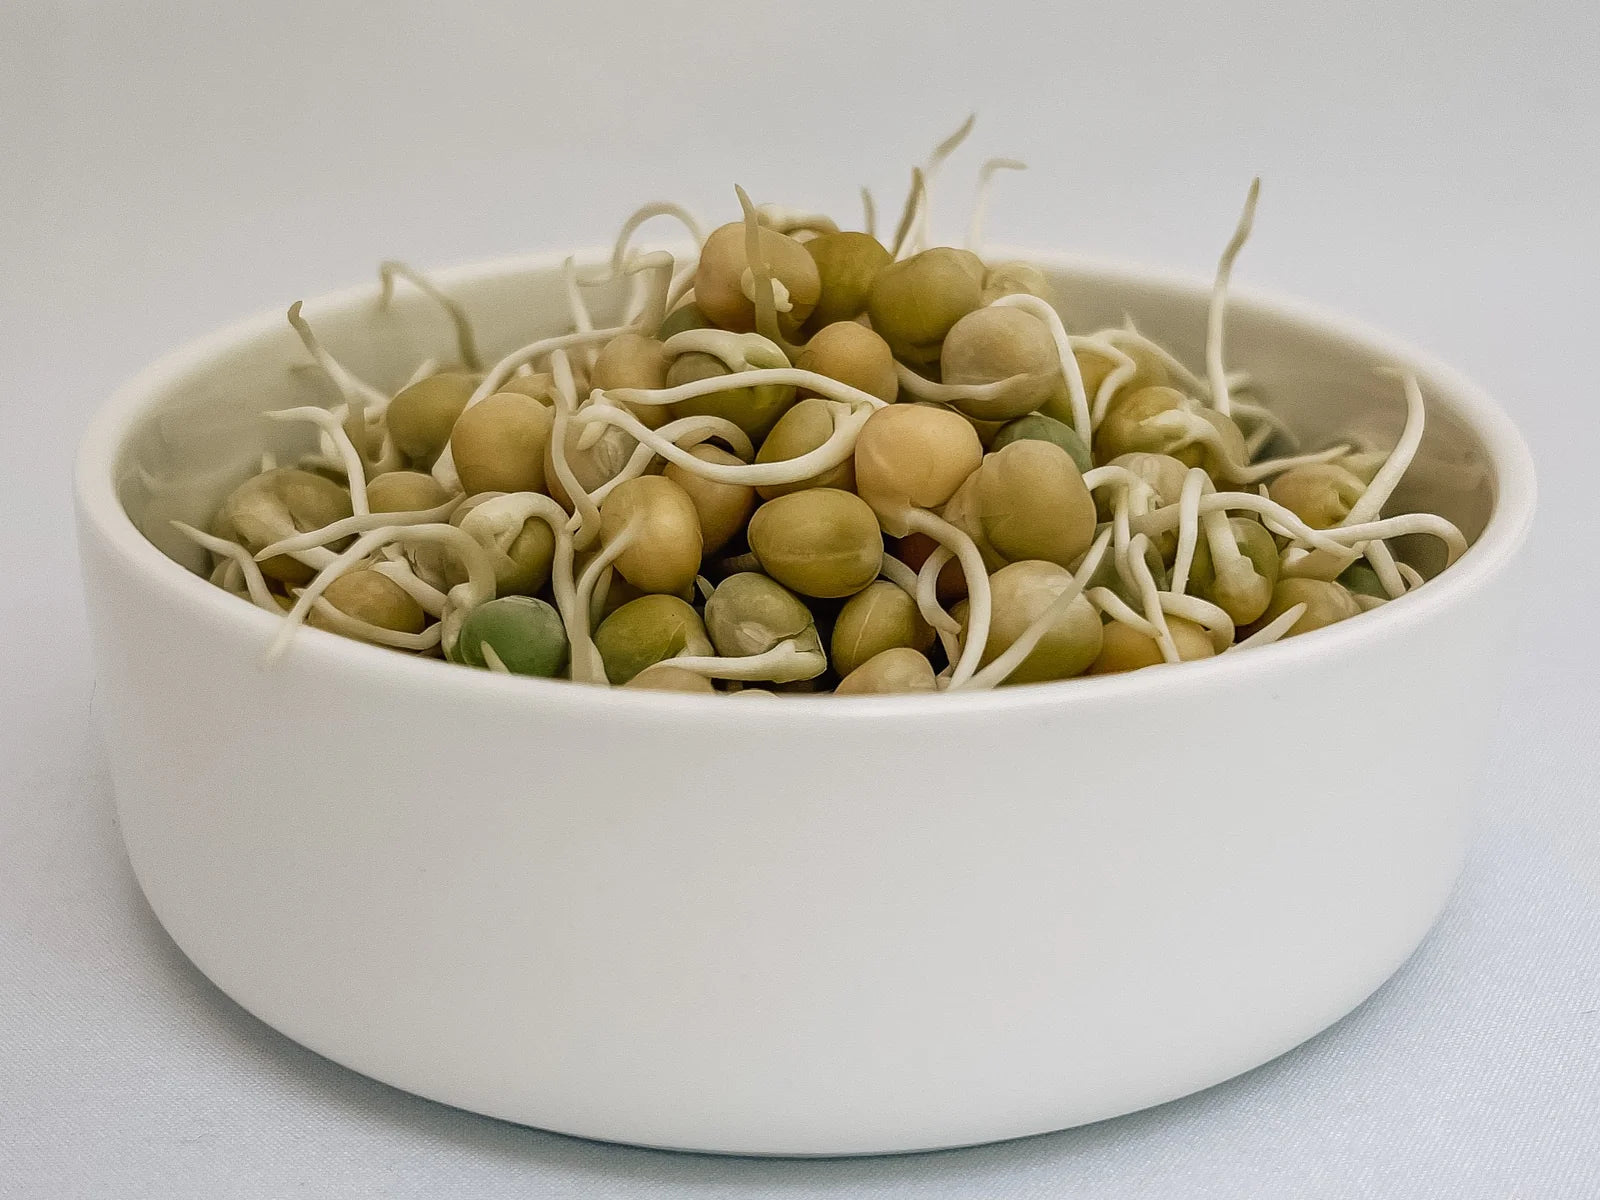
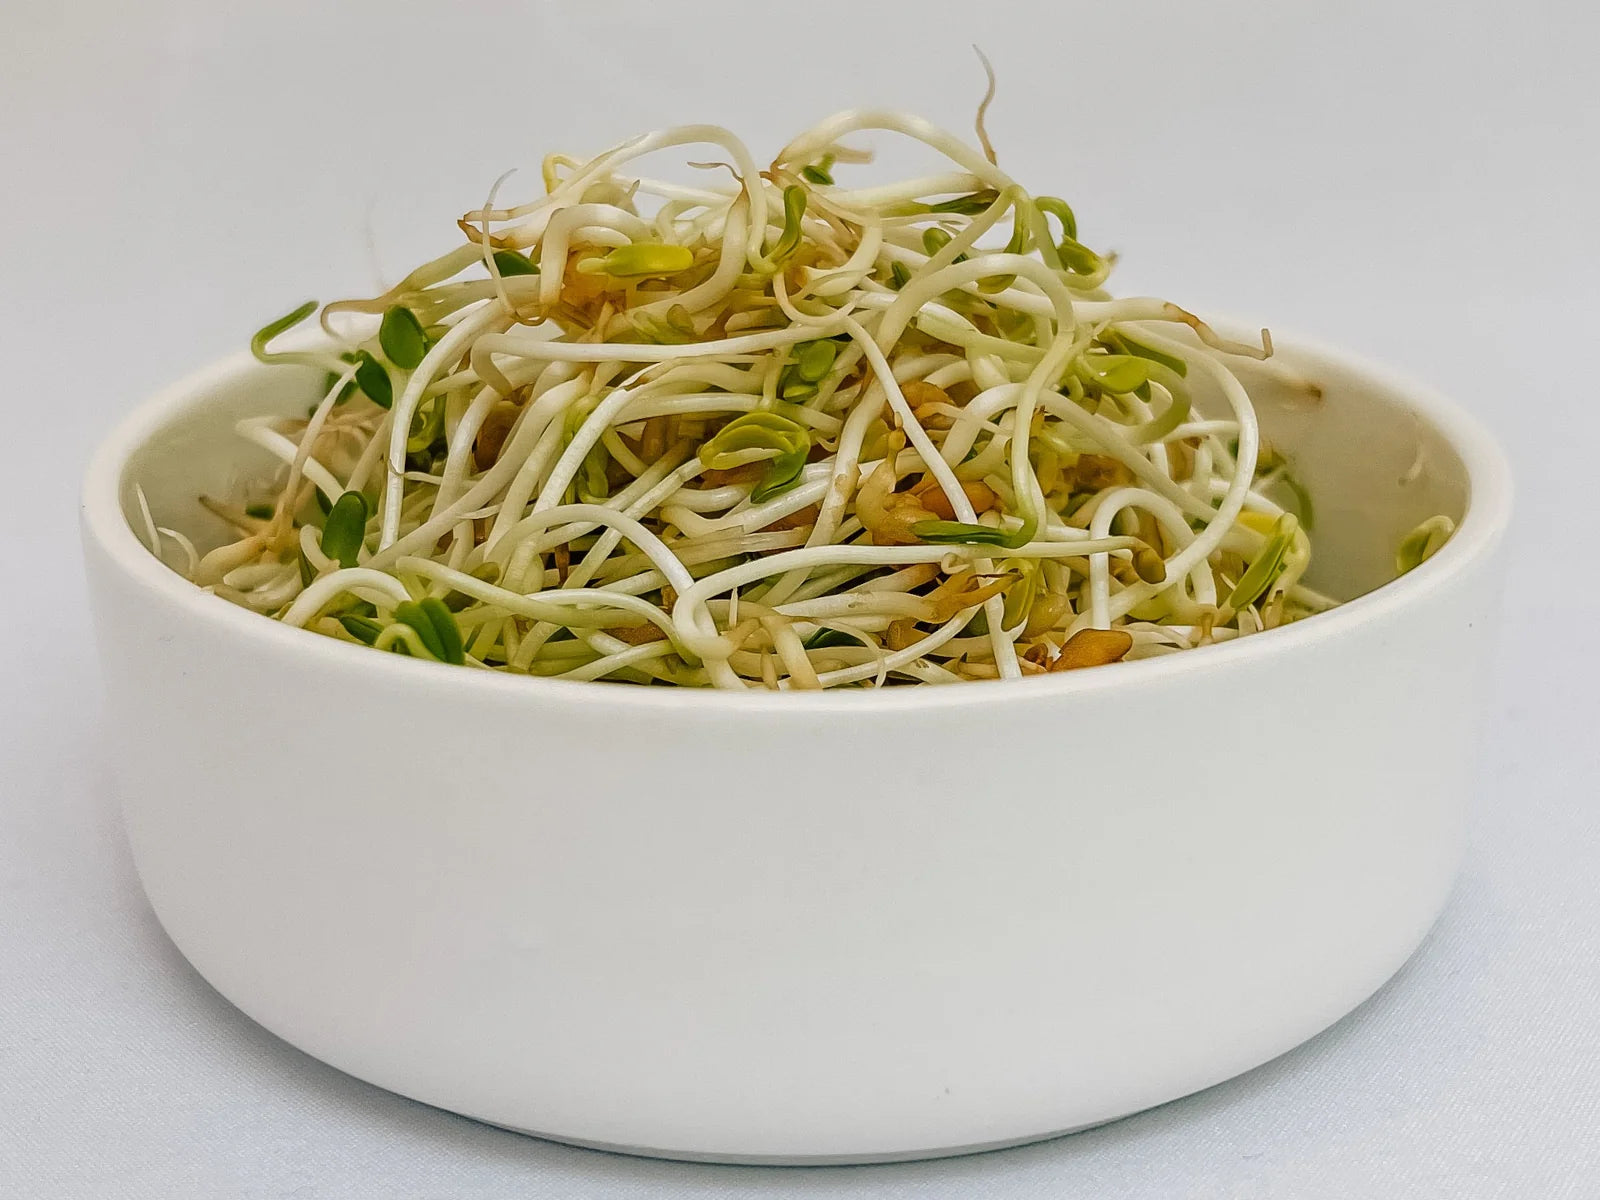
Pea Sprouts
The "Fast and Sweet" - The sweet one of the family. It comes in many types: green, yellow, dwarf grey sugar, giant, speckled... And it grows very fast.
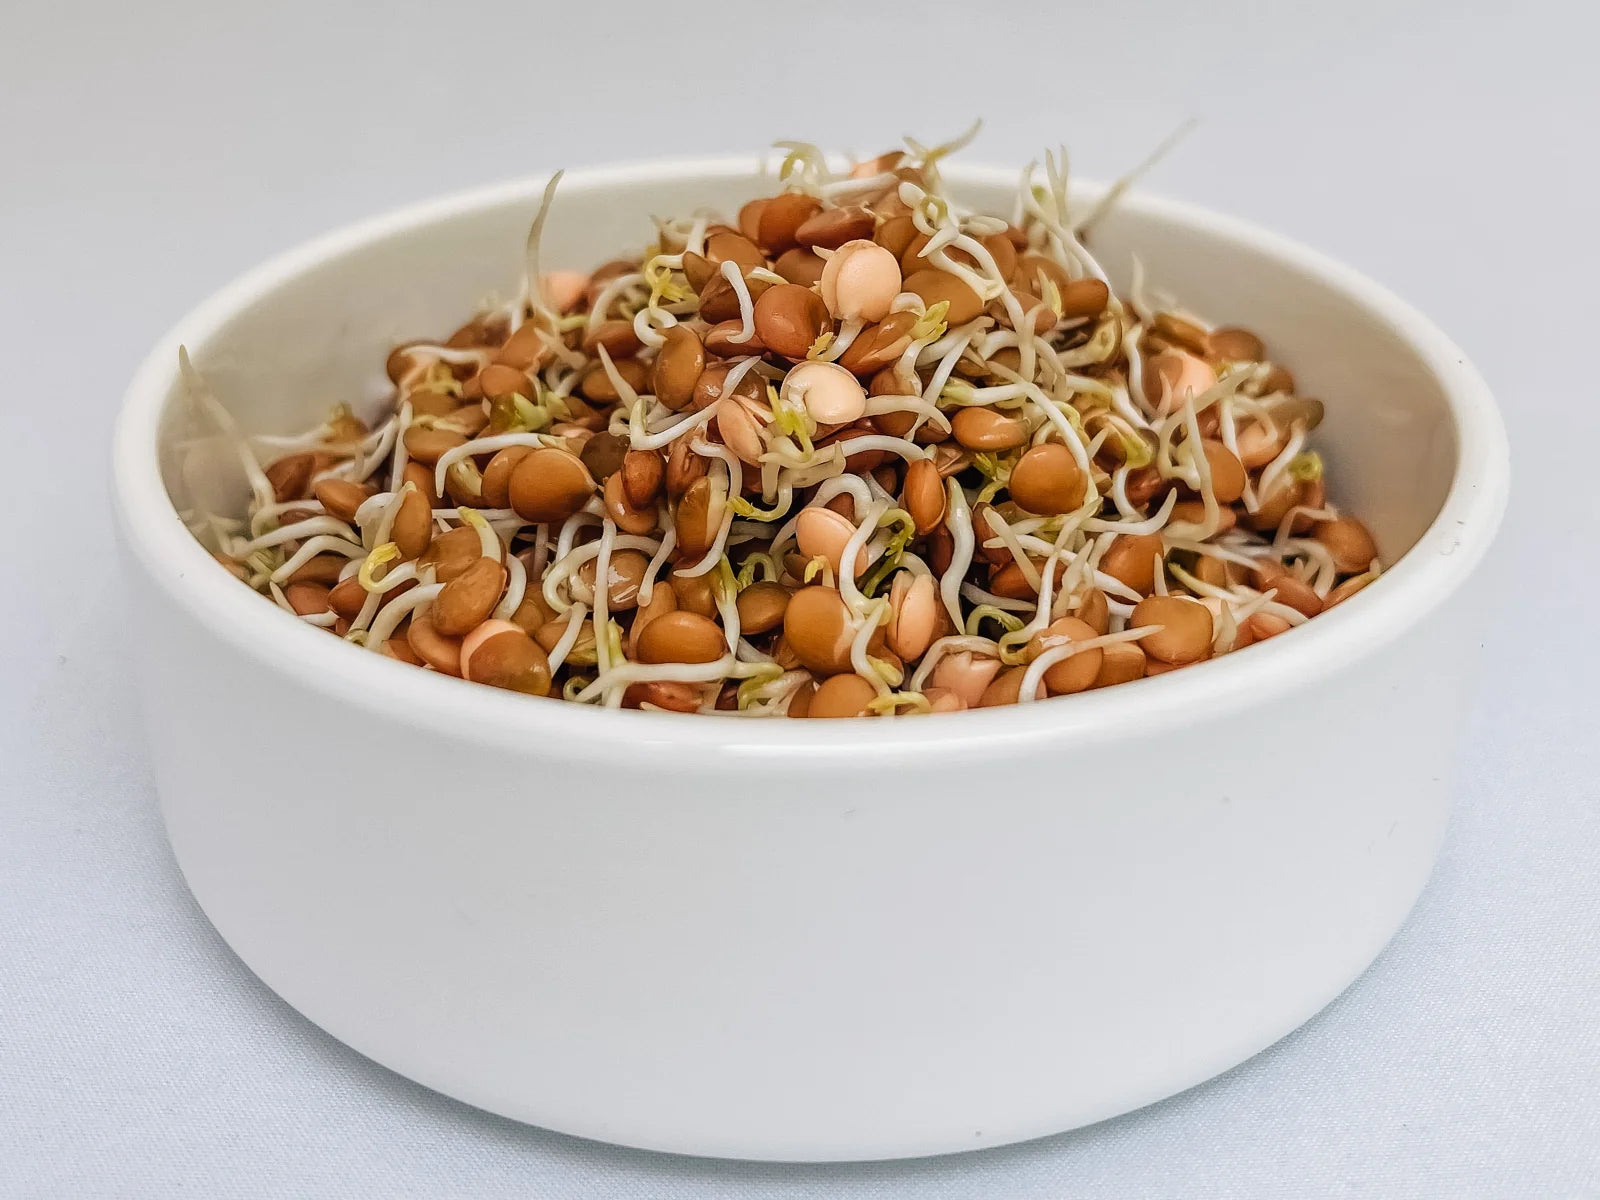
Lentils
The "Cozy Up" - The cozy member of the family, the protein-packed Lentil Sprout, easy on the body, perfect for the fall season. It comes in many varieties: Green, Crimson, French, Black... and can be eaten raw or cooked in soups, stews, or even baked in brownies!
Sprouting Safely
Worried about food safety? Follow these simple precautions for best results.
- Always wash your hands before touching seeds and raw sprouts and maintain a clean work area.
- Opt for certified pathogen-free seeds that are meant for sprouting. You can also sterilize seeds yourself.
- Rinse sprouts with safe-to-drink clean water.
- Don’t let sprouts dry out, and avoid direct sunlight.
- Always check for mold and do a smell test before consuming. Similar to fresh produce, spoiled sprouts have a strong smell.
- Not everyone may find sprouts suitable. If unsure, consult your doctor or nutritionist.

Sprout something wild
Get your all-in-one Sprout Jar Kit and experience how easy, clean and delicious sprouting can be.